Hey, I said I'd have the room finished by March 1, and I made it (well, pretty much)! This weekend I had a super surge of energy that allowed me to do almost everything around the house that I could do to avoid grading essays, AND to grade essays. Of course, I did too much and my body hurt like hell afterward, but it's a small price to pay for the feeling that everything is in its place. Now, this new pelvic-bones-loosening-up-to-make-way-for-Matt's-son's-giant-head sensation is, well, less than pleasant. Oh well. I'm 36 weeks, so only a few left to go, right?
Okay, so here's how fat I am at 36 weeks. And that is a professional hairstyle and those are designer yoga pants.

But let's be honest, fatness if far less exciting than a super fun little kid's room. Here we go!
The view from the hallway.

View from the door.


The closet. Totes took the doors off and hung curtains so that we could access the entire closet all at once.


We left the bed in the room so that we can still have a decent place for guests to sleep.


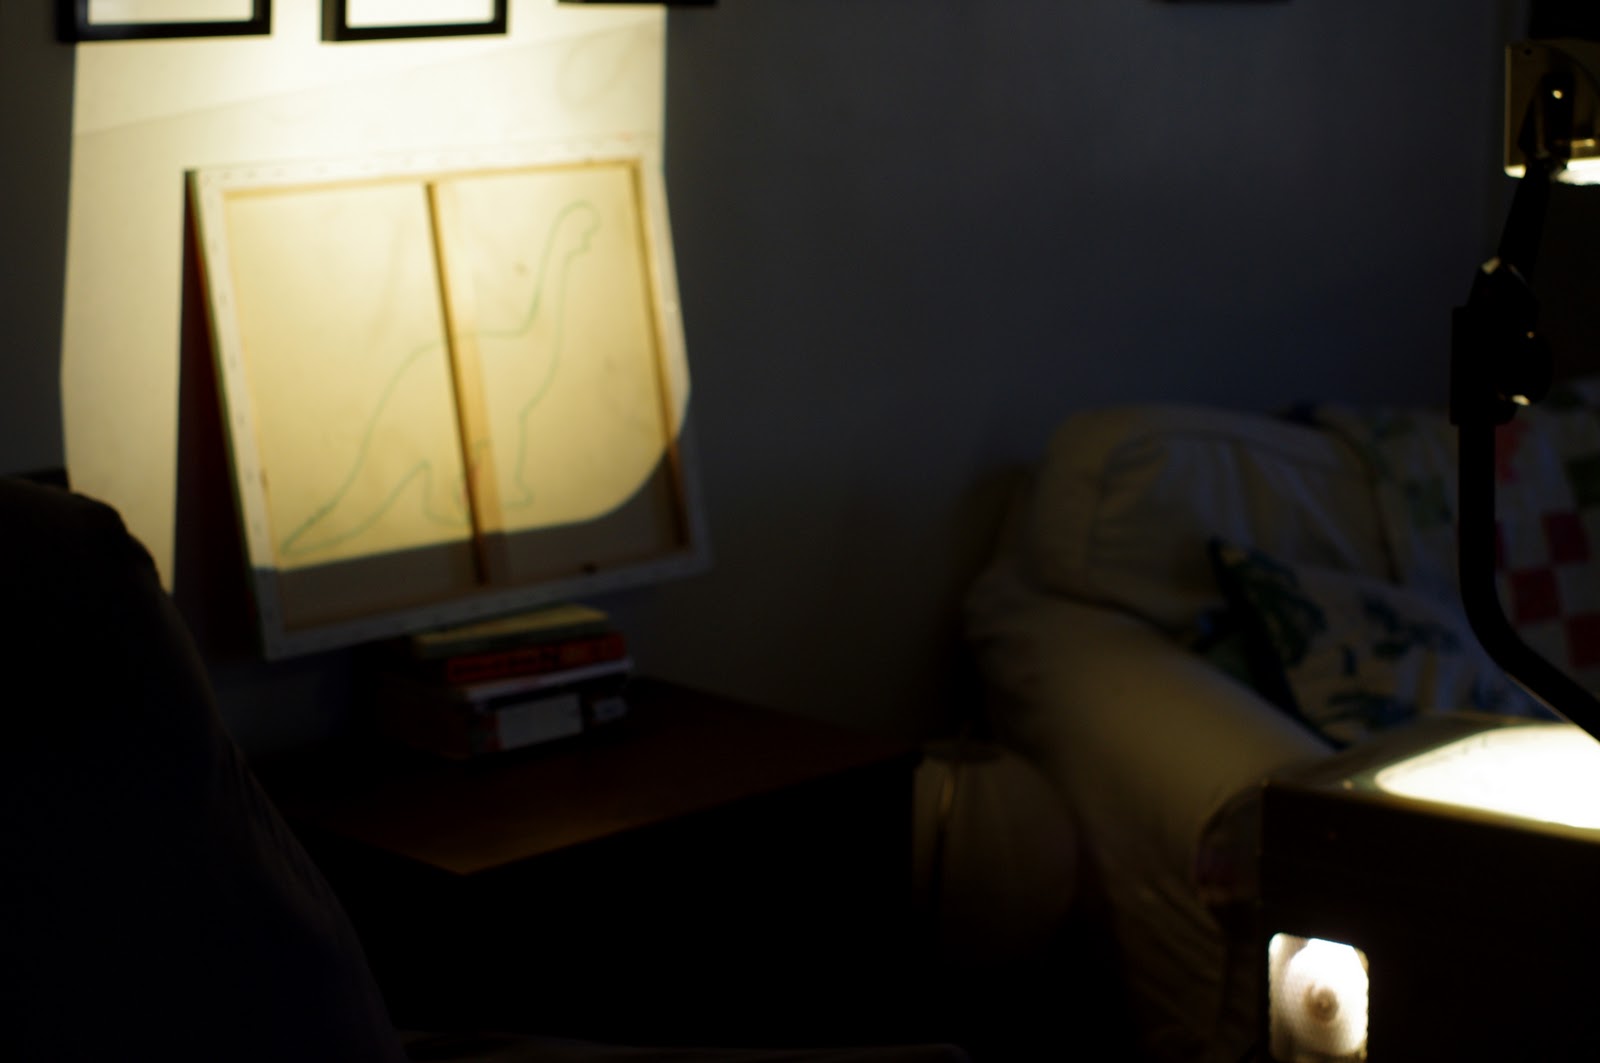
And, now, my totes favorite part of the room. And our boy's name! (Trying to keep people from being able to stalk him on the world wide web until he at least has some teeth.)


Okay, so here's how fat I am at 36 weeks. And that is a professional hairstyle and those are designer yoga pants.

Try, if you can, not to be too jealous of my mad fashion skillz.
But let's be honest, fatness if far less exciting than a super fun little kid's room. Here we go!
The view from the hallway.

View from the door.


The closet. Totes took the doors off and hung curtains so that we could access the entire closet all at once.


Boy clothes as far as the eye can see. . . Matt says that the kid will just wear an outfit and then we'll throw it away.
We left the bed in the room so that we can still have a decent place for guests to sleep.

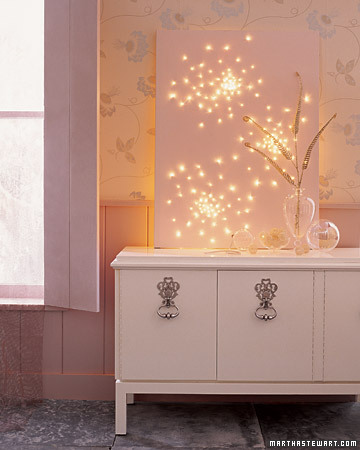
I want one of these for myself.


And, now, my totes favorite part of the room. And our boy's name! (Trying to keep people from being able to stalk him on the world wide web until he at least has some teeth.)

Notes: name banner idea from here (I used Georgia font size 500), dino-brite instructions here. The cradle is the same one Matt slept in when he was a tiny little baby. I'm in love with it.

Stole the wall idea from Sassy Curmudgeon. Our boy's picture will go in the middle (If he's cute. If he's not cute, we'll probably just get a picture of Scott Baio.)
Well, there you have it. Isn't it the most fun?